
Email Logs
Audit outbound email in FluxBilling: status cards, search and filter, a detail view with the rendered body and error, and one-click retry on failed messages.
What Email Logs is for
Email Logs is the outbound mail record for your platform. Every message the system generates — transactional notifications such as invoice paid, order confirmation and password reset, ticket notifications, and campaign messages — is recorded here with its delivery status, recipient and timestamp. When a customer says they never received an email, this is the first place to look: you can see whether the message went out, is still in flight, or failed, and read the exact error your mail provider returned.
How to open Email Logs
There are two views of the same data:
- The compact list — go to Settings → Email and open the Logs tab. It shows the twenty most recent messages in a short scrollable list, each with the recipient's address, the subject and the date, plus a search box and a small status filter (All, Sent, Failed, Pending). Handy for a glance while you are already configuring email, but it offers no detail view and no retry. When there is nothing to show it reads No email logs found.
- The full Email Logs page — the page documented here. It adds the status count cards, full filtering, pagination, the per-message detail window and one-click retry on failed messages. It is not listed in the sidebar; reach it by adding
/emails/logsto your admin panel address, for examplehttps://admin.example.com/emails/logs.
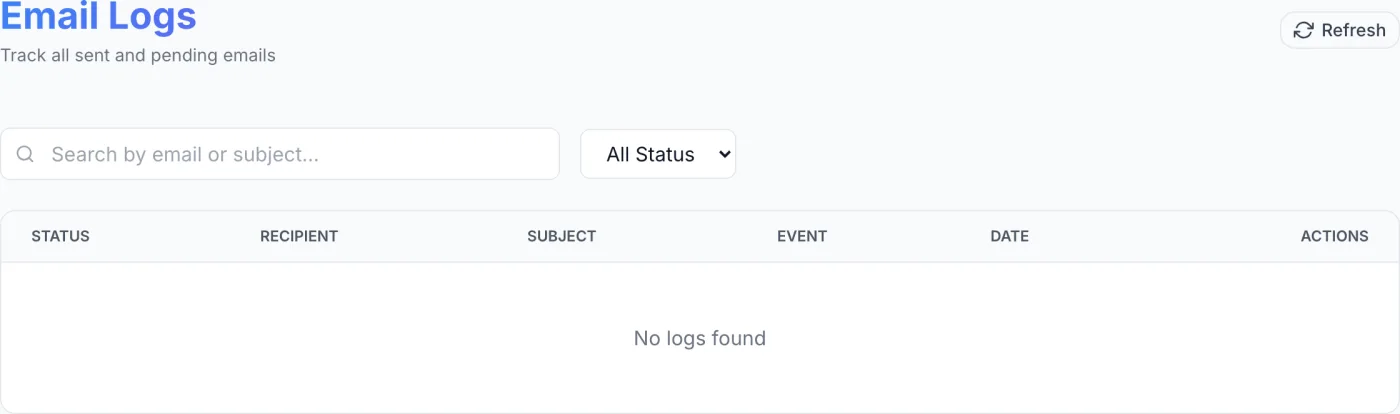
The full page heading reads Email Logs with the subtitle Track all sent and pending emails.
The statuses a message moves through
| Status | Meaning |
|---|---|
| sending | The message has been written to the log and is being handed to your mail provider right now. This is the state every message starts in, and most messages pass through it in under a second. |
| sent | Your provider accepted the message for delivery. The entry also records the time it was sent. |
| failed | The attempt returned an error, which is stored on the entry. These are the messages you can retry. |
| pending / queued | Waiting states for messages held before dispatch. |
| bounced | Available as a filter for messages recorded as undeliverable. |
Note: A message your provider refuses — a bad address, a blocked domain, an authentication problem — is recorded as failed, with the refusal text in the entry's Error panel. That is the status to watch when you are chasing a delivery complaint.
Note: A message that never reports an outcome — because the platform restarted mid-send, for instance — is moved to failed after about fifteen minutes, with a note explaining that it was recovered from a stuck state. Doing so is what makes it retryable.
Reading the status cards
Across the top of the full page is a row of coloured count cards, one for each status that has had activity in the last 24 hours. A status with no messages in that window gets no card, so the row grows and shrinks with your traffic. Each card shows the status name, the count, and the label Last 24 hours.
The cards are clickable: click one to filter the table below to that status, and the card gains a blue ring. Click it again to clear the filter.
Tip: The cards only count the last 24 hours, so an older message will not be reflected in them even though it is still in the table. Use the search box or the status dropdown to look further back rather than relying on the card counts.
Finding a specific message
Two controls sit above the table:
- Search box — placeholder Search by email or subject.... It matches the recipient's address or any part of the subject line.
- Status dropdown — choose All Status, Pending, Queued, Sent, Failed or Bounced. This dropdown and the status cards drive the same filter, so changing one updates the other. Leave it on All Status to include messages that are still in the sending state, which the dropdown has no entry of its own for.
When nothing matches, the table shows No logs found. Reopening or navigating back to the page fetches the current list.
The log table
Each row is one outbound message.
| Column | What it shows |
|---|---|
| Status | A coloured badge with an icon carrying the status name. |
| Recipient | The recipient's name on the first line and their email address below it. If the message went to one of your clients, the name links straight to that client's record. |
| Subject | The rendered subject line, truncated if long. |
| Event | The event that triggered the send. A dash appears for messages with no associated event, such as campaign messages. |
| Date | When the message was created. If it went out, a second line reads Sent: … with the delivery time. |
| Actions | A View Details (eye) button on every row, plus a Retry button that appears only on failed rows. |
The table shows 25 messages per page. When there is more than one page, controls at the bottom show Showing X to Y of Z, a Page X of Y indicator, and previous/next arrows.
Inspecting a single message
Click the View Details (eye) icon on any row to open the Email Details window. It shows:
- Status
- The current status of this message.
- Attempts
- How many delivery attempts have been made against the allowance recorded for the message, shown as a pair such as
1 / 3. This tells you at a glance whether a failure is a first try or a repeated one. - Recipient
- The address the message was sent to.
- Event
- The triggering event, or Manual when the message was not tied to an automatic event.
- Subject
- The full subject line.
- Error
- Shown only when something went wrong — a red panel containing the exact error text returned during sending.
- HTML Content
- The rendered message body for that recipient, with the placeholders already filled in.
Close the window with the X in its top-right corner.
Note: The message body is restricted to super administrators. Sent emails can contain live password-reset links and provisioned server credentials, so for anyone else this panel reads Message content is restricted to super admins — sent emails can contain password-reset links and provisioned credentials. Every other field in the window, and the whole table, remain visible to any administrator with settings access.
Note: The stored body is the message as it was rendered, before your company email signature is attached. A missing signature here does not mean it was missing from the delivered email — see Email Signature.
How retries work
Automatic
When a send fails for a reason that looks temporary — your mail provider asking you to slow down, a dropped connection, a timeout — the platform tries again on its own, twice, a couple of seconds and then a few seconds later. A permanent refusal, such as a mailbox that does not exist or content the provider blocks, is not retried automatically, because repeating it only damages your sending reputation.
By hand
- Filter to Failed using the status card or the dropdown.
- Open View Details and read the Error text to confirm the cause — a bad address, an authentication problem, a provider outage.
- Fix the underlying cause first. Retrying without changing anything reproduces the same failure.
- Click the Retry (circular-arrow) button on the failed row. The icon spins while the retry is submitted, and the row's status moves on when the attempt completes.
Note: Retry appears only on rows whose status is failed. Sent, bounced, pending and queued rows do not offer it, because they either already succeeded or are still in progress.
Two things will stop a retry, and both report why:
- The attempt ceiling. A message that has already been attempted five times is not retried again, so a permanently bad address cannot be looped over your mail provider indefinitely. Correct the address on the customer's record and re-trigger the original action instead.
- Content that is no longer stored. Messages carrying credentials — password resets, email verification, provisioned server passwords — have their bodies cleared once they are old, so there is nothing left to re-send. The refusal says so and tells you to re-trigger the original action, which produces a fresh message with a fresh link.
Common tasks
- Answer "I never got it". Search the customer's address, look at the newest row's status. sent means your provider took it — point the customer at their spam folder. failed means the error text tells you why.
- See every email one action produced. Scan the Event column. If a client complains they got several messages at once for a single transaction, the events show exactly which ones fired.
- Check one customer's mail history. Open the customer's record, which lists the messages sent to them alongside their other activity. See Client Details.
- Judge overall health. Glance at the failed card. A run of failures usually points at your sending configuration rather than at individual addresses — open a few rows, read the errors, and review the Provider sub-tab covered in Email before retrying in bulk.
Related
Email · Email Templates · Email Signature · Email Broadcast · Client Details