
Product Options
Create reusable add-ons (RAM, storage, bandwidth, network, location) once, price them, then attach them to any product so customers can pick them at checkout.
What product options are
Options are reusable add-ons that customers can pick when they order a product — a RAM upgrade, an extra IPv4 subnet, a faster storage tier, more bandwidth, more player slots, or a support tier. You define an option once, give it a price, then make it available on any number of products. Because options are shared, a single “Extra 100 GB Storage” add-on can power dozens of plans without re-entering its price each time, and any product may still charge its own price for it.
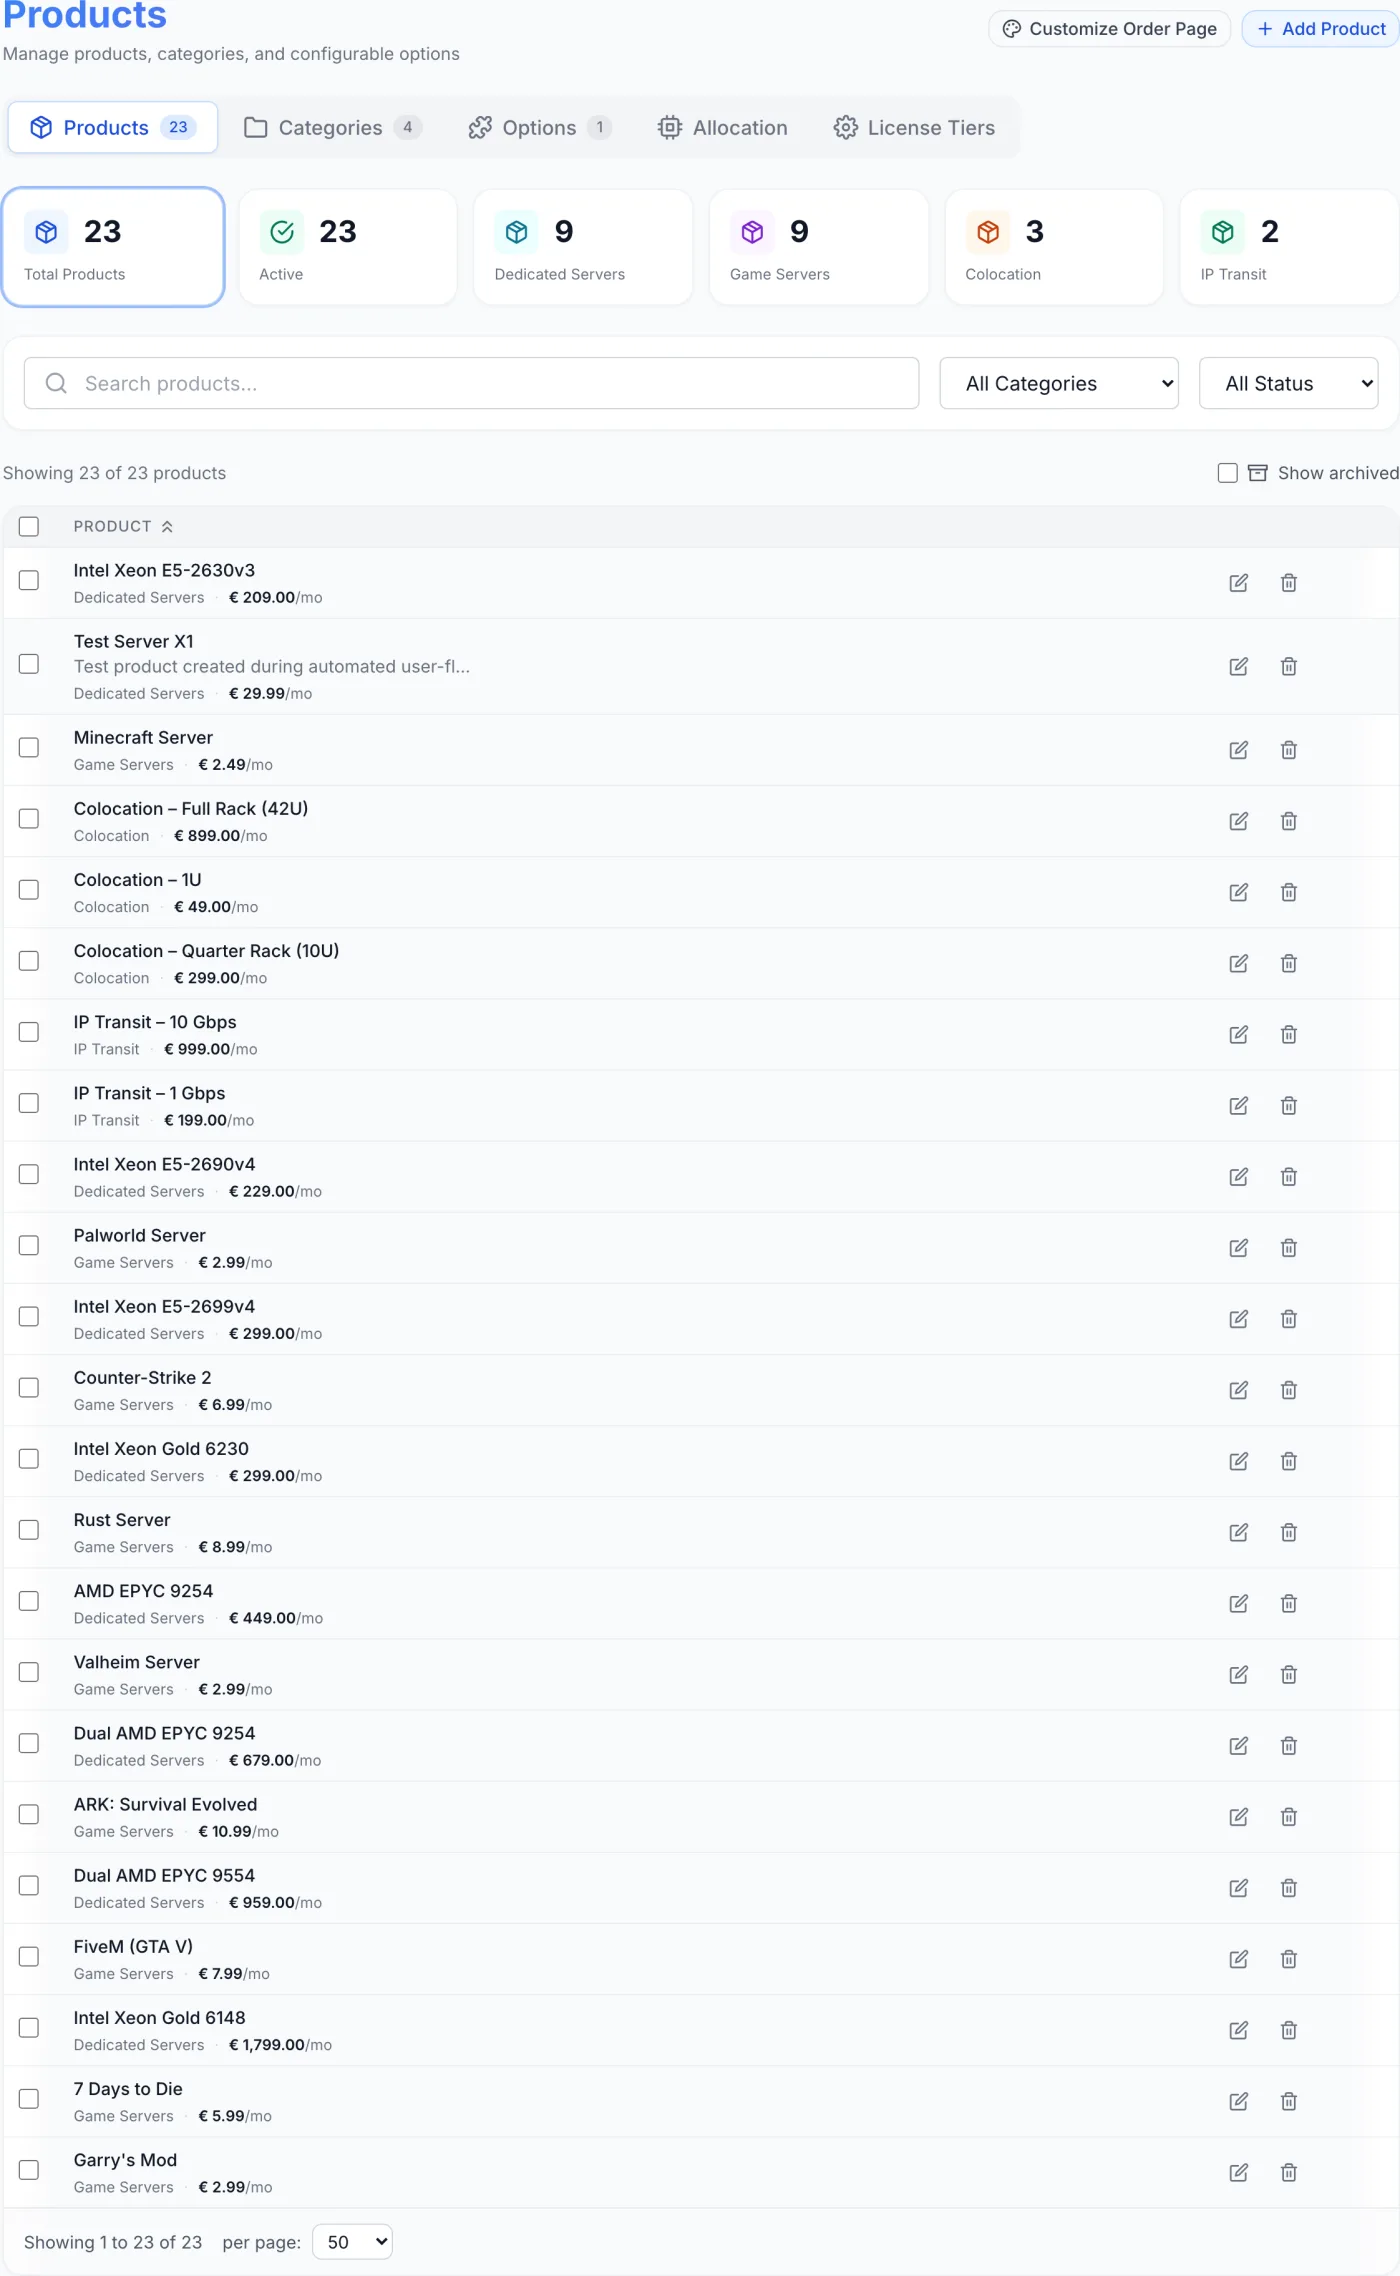
How to reach the Options tab
Open Products from the admin sidebar. The page header shows a row of tabs — Products, Categories, Options and Allocation. Click Options. The tab opens to a stat strip across the top, a search-and-filter bar, and a grid of option cards.
The stat strip
Seven tiles sit above the grid. Each tile is also a one-click filter — click it to narrow the grid to that group:
- Total Options — every option, and clears all filters.
- Active — only options currently switched on.
- Network, Storage, Bandwidth, Location, General — counts per category.
Note: Only five of the categories have a tile. RAM / Memory and the game module's own categories (Resources, Capacity, Backups, Support) do not — to list those on their own, use the category dropdown in the filter bar instead.
Search and filter bar
Below the tiles you can search by name, slug or description, filter by category, and filter by status (All Status, Active, Inactive). A counter shows how many options match out of the total, and when any filter is set a Clear filters link appears beside it. A Select all checkbox sits next to the counter.
Reading an option card
Each option appears as a card. The coloured header holds a selection checkbox, the option's category, and an Active / Inactive toggle button — click it to switch the option on or off without deleting it. The body shows the option name, optional description, and a headline price. If the option has several choices, the price is shown as a range (for example, 5.00 – 40.00 /month) with an “X options available” note; otherwise a single price is shown, with + N setup underneath if a setup fee is set. A pricing-type badge (One-time, Recurring or Both) sits at the bottom, and a usage badge (for example, “3 in use”) appears when the option is attached to one or more services. The footer has Edit and a delete (trash) button.
Add an option
- On the Options tab, click Add in the top-right of the page header. The Create Option editor opens.
- Enter an Option Name (for example, “IP Subnet /29”). Required.
- Pick a Category — this groups and colour-codes the option and drives the tiles and filters; it does not change billing.
- Fill in the Resource Grant block if the add-on is meant to change the server, or leave it on None (billing only) if it is just a charge (see below).
- Set a Display Order if the position in the customer's list matters. Lower numbers come first; leaving it blank means 0, which sorts above everything else.
- Optionally set a Slug. Leave it on Auto-generate from name, choose one of the slugs an enabled plugin says it expects (each is listed with the plugin's name, and picking one fills in its description if you have not written your own), or pick Custom slug… to type your own.
- Optionally add a short Description shown to customers.
- Choose a Pricing Type (see the table below).
- Either enter a single price, or turn on Configurable Options to offer several choices (see below).
- Click Create (or Update when editing). The card appears in the grid.
Resource Grant — what the add-on actually does
An add-on can be one of two things, and this block is where you say which.
- Leave Spec Service on None (billing only) and the option is a charge and nothing more — a support tier, a setup service, a managed-services fee. It works on every product type.
- Pick a spec service and the option grants a resource on the module you name. Only products delivered by that same module can offer it; the product editor hides it from the others, and checkout refuses a mismatch, so an add-on that grants nothing is never sold by accident.
| Field | What it does |
|---|---|
| Spec Service | Which provisioning module honours the grant. Leaving it on None (billing only) means the option bills and changes nothing on the server. |
| Spec Modifier | The thing being granted, chosen from the keys that module publishes (memory, disk, vCPU, player slots, IPv4 addresses, committed rate…). Keys that only take effect after a restart say so, and the editor warns you where the add-on is sold. If the module publishes no grantable keys, a note says so rather than letting you pick one that grants nothing. |
| Spec Increment | What one unit grants, in the key's own units (memory and disk keys are in MB, slots are slots). Hidden for keys that are a simple on/off flag, where any positive quantity means “on”. |
| Spec Unit | The unit the customer reads, which need not be the key's own — an increment of 1024 MB is sold as GB. |
| Max Quantity | How many units one service may hold. Empty means no ceiling. |
Warning: Leaving Max Quantity empty on a resource grant lets a customer buy an unbounded amount onto a finite machine: the checkout succeeds and the placement fails afterwards. Set a ceiling you can actually deliver.
Pricing types
| Pricing type | What it does |
|---|---|
| One-time | Charged once when the service is set up. No recurring charge. You set a one-time price and an optional setup fee. |
| Recurring | Billed every cycle alongside the parent service. You can set a price per cycle: Monthly, Quarterly, Semi-Ann and Annual, plus a one-off Setup fee. |
| Both (Customer chooses) | Exposes both a one-time price and recurring prices, so the customer decides how to take the add-on at checkout. |
Tip: For recurring options you only have to fill in Monthly. The Quarterly, Semi-Ann and Annual boxes show an Auto placeholder; left blank, they are worked out as the monthly price times the number of months. An hourly charge is always derived from the monthly price. A price you type into a longer cycle is used only while the add-on is charged at its catalogue price — if a product overrides the monthly price, or the customer picks a configurable choice with its own price, every longer cycle is worked out from that number instead.
Single price vs. configurable choices
By default an option has one price. Turn on the Configurable Options toggle to turn the add-on into a small menu of choices — for example a RAM upgrade offering 16 GB, 32 GB and 64 GB, or a subnet size offering /29, /28 and /27. When enabled, you provide:
- A Label: for the choice list (for example, “Subnet Size” or “Memory”), shown to the customer above the choices.
- One row per choice via Add Choice. The columns are Value, a customer-facing Label, a Spec + box (only when the option carries a spec modifier — what that one choice grants), One-time and/or Monthly depending on the pricing type, Setup, a Default radio marking the pre-selected choice, and a trash button to remove the row. The first choice you add is the default; removing the default promotes the next row.
With configurable options on, you price each choice individually rather than the option as a whole, which is why such options show a price range on their card, and the option's own price boxes disappear.
Note: For options in the RAM, Storage or Bandwidth categories, an extra Server Requirement panel appears under each choice, and for Network choices an IPAM Allocation panel. Server Requirement records the minimum hardware a choice needs (minimum RAM; disk count, size and type; minimum port speed) so the choice can be matched against inventory during automatic allocation. IPAM Allocation records whether the choice hands out single IPs or a whole subnet, the address family, and how many or which prefix — so addresses can be assigned automatically. See Allocation & Equivalences and IPAM.
Field reference
| Field | Purpose |
|---|---|
| Option Name | Internal and customer-facing name of the add-on. Required. |
| Category | Groups and colour-codes the option. Required. The list comes from the platform and includes General, Network, Storage, Bandwidth, Location, RAM, and the game module's own Resources, Capacity, Backups and Support. |
| Spec Service / Spec Modifier / Spec Increment / Spec Unit / Max Quantity | The Resource Grant block — what the add-on adds to the service, on which module, in what units, and up to what ceiling. |
| Display Order | Where the add-on sits in the customer's list. Lower first; blank counts as 0. |
| Slug | Identifier used to match the add-on to a plugin that expects it. Auto-generated, picked from the slugs your enabled plugins declare, or custom. |
| Description | Optional short text shown with the option. |
| Pricing Type | One-time, Recurring, or Both (Customer chooses). |
| One-time price | Charged once at setup (shown for One-time and Both). |
| Monthly / Quarterly / Semi-Ann / Annual | Recurring price per billing cycle (shown for Recurring and Both). |
| Setup | One-off charge added when the option is first set up. |
| Configurable Options | Toggle that turns the single price into a list of priced choices. |
| Default | The radio that pre-selects one choice for the customer. |
Attach an option to a product
Defining an option does not make it appear on any product by itself. To offer it:
- Go to the Products tab and open a product for editing (or create one).
- Switch to the product's Pricing section.
- Under Available Add-ons, tick each option you want customers to be able to add for that product. Only active options appear in this list, and add-ons that grant a resource another module owns are hidden behind a Show anyway button, because this product could not deliver them.
- Optionally type a price into the attached card's One-time or Monthly box to charge a different price for this product only. Leave it empty to charge the catalogue price.
- Save the product. The selected add-ons now appear on that product's order page.
See Products for the rest of the product editor.
Edit, deactivate and delete
- Edit — click Edit on a card to change any field. Edits apply to new orders; services that already include the option keep the price they were sold at.
- Deactivate — use the Active / Inactive toggle on the card header to take an option off new orders without deleting it. Existing services that already use it are unaffected.
- Delete — the trash button removes an option after a confirmation. Tick the checkbox on each card to select several, then use Delete Selected in the bulk bar to remove up to 50 at once; that also removes their assignments to products.
Note: An option that any service is currently using cannot be deleted — single and bulk delete both refuse and say how many are in use. Deactivate it instead: that stops new sales and leaves running services alone. To stop selling it on one product only, untick it on that product's Pricing section.
Practical tips
- Build one option per real-world upgrade and reuse it across plans — changing the price in one place updates every product that offers it for future orders, unless that product has set its own price.
- Use Network options with an IPAM Allocation spec for IPv4/IPv6 add-ons so addresses are handed out when a choice is selected.
- Use Location options to let customers pick where their service runs rather than duplicating products per region.
- Keep choice labels customer-friendly (for example, “/29 (8 usable IPs)”) since they appear on the order page.
- Give add-ons a deliberate Display Order. Anything left blank sits at 0 and jumps above everything else in the customer's list.
Related
Products · Product Categories · Allocation & Equivalences · IPAM · Locations