
Location Details
Manage the datacenters inside one location: capacity rollup strip, datacenter cards with capacity bars, plus add, edit, activate, and delete actions.
What the Location Details page is for
The Location Details page shows every datacenter you have registered inside a single location (typically one country or region). It is where you create, edit, activate and remove datacenters, and where you see a quick rollup of capacity and device counts before drilling into the racks themselves.
How to reach this page
Open Locations from the admin sidebar, then click any location card. You land on Location Details for that location. A Back to Locations link sits at the top so you can return to the grid at any time.
Note: This page is part of the Locations module. If Locations is switched off for your company, neither the sidebar entry nor this page is available.
Page header
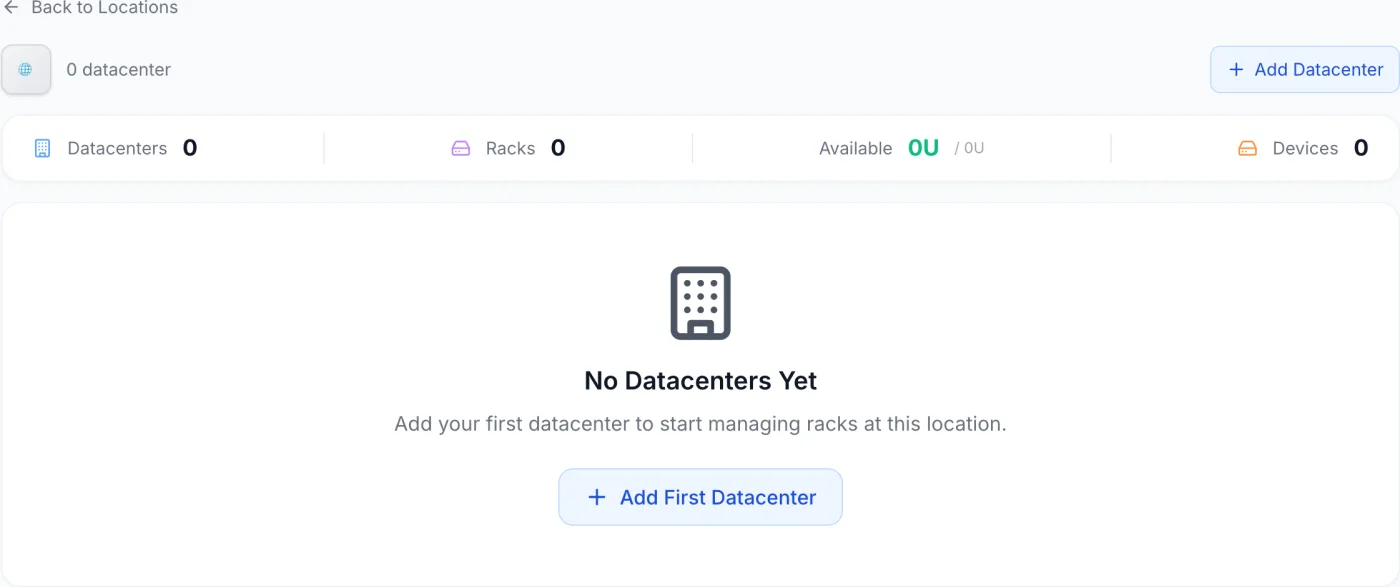
The header carries the country flag, the location name, and a count such as 3 datacenters. On the right is the Add Datacenter button.
The capacity strip
Directly under the header is a single inline strip that totals every datacenter on the page:
| Metric | What it shows |
|---|---|
| Datacenters | How many datacenters exist in this location. |
| Racks | Combined rack count across all datacenters here. |
| Available | Free rack units against total rack units, e.g. 120U / 200U. The free figure is shown in green. |
| Devices | Total devices installed across every rack in this location. |
Note: These totals are read-only and update as you add racks and devices. They are a rollup of the individual datacenter cards below.
Datacenter cards
The body is a grid of cards, one per datacenter. Each card shows:
- Name and, beneath it, the short name plus the optional provider (for example AMS1 • Northgate Facilities).
- An Active or Inactive pill in the top-right corner. Click the pill directly to toggle the datacenter's status without opening any form.
- A Capacity bar showing used rack units against total rack units. The bar is green under 70% used, yellow from 70% to 89%, and red at 90% or above. It only appears once the datacenter has racks that define a total U.
- Racks and Devices counts for that datacenter.
- The address line, when one has been entered.
- A pencil (Edit datacenter) and trash (Delete datacenter) button along the bottom of the card.
Clicking anywhere on the card body opens Datacenter Details, where you manage the individual racks and client boxes.
Tip: If a location has no datacenters yet, the page shows a No Datacenters Yet panel with an Add First Datacenter button instead of the grid.
Adding a datacenter
- Click Add Datacenter (top right) or Add First Datacenter on an empty location.
- The New Datacenter dialog opens. Type the Name — this is the only required field. As you type, a short name is suggested automatically (the first four letters in uppercase) and a small preview card at the top of the dialog updates live.
- Adjust the Short Name if you want a different abbreviation (up to 10 characters, always shown in uppercase).
- Optionally fill in the Provider, Address and Coordinates (see the field reference below).
- Set the Display Order and the Active checkbox as needed.
- Click Create Datacenter. The new card appears in the grid.
Field reference
| Field | What it does |
|---|---|
| Name (required) | The full datacenter name shown on the card and in the breadcrumb of every page below it. |
| Short Name | A short code (up to 10 characters, always uppercased) used as the card sublabel and in the Datacenter Details subtitle. Auto-suggested from the name on create; you can overwrite it at any time. |
| Provider | The facility or carrier operator, shown next to the short name. Descriptive only — it is not tied to any provisioning integration. |
| Address | A free-text postal address, shown at the foot of the card. |
| Coordinates | Latitude and longitude for the facility. Use Lookup from address to fill these in automatically, or type them by hand. |
| Display Order | A number controlling the position of this datacenter relative to others (lower numbers first). |
| Active | When unchecked, the datacenter is marked inactive. You can also flip this later from the card pill. |
Tip: The Lookup from address link tries the full address first, then falls back to the last parts of it (city and country) and finally to the datacenter name. It stays disabled until you have typed an address or a name, and shows Looking up… while it works. Coordinates are used for display only and never affect billing or provisioning.
Editing a datacenter
- Click the pencil icon on the datacenter card.
- The same dialog opens, pre-filled with the current values, titled Edit Datacenter.
- Change any field and click Save Changes.
Activating or deactivating
To change status quickly, click the Active / Inactive pill on the card. It toggles immediately and does not open the dialog. Use it to mark a facility out of rotation without deleting any of its rack or device records.
Deleting a datacenter
- Click the trash icon on the card.
- A Delete Datacenter? confirmation appears listing what is affected, with counts: racks, devices, client boxes and loose items. If the datacenter is empty, it says so instead.
- Click Delete Datacenter to confirm, or Cancel to back out.
Warning: Deleting a datacenter removes its racks, its client boxes and every loose item stored in them. Devices are not deleted: each server, chassis, switch and PDU keeps its record but loses its rack and U position, so it reappears as unracked hardware in Inventory. If you only need to pause a facility, deactivate it instead.
Tips and notes
- A location can carry zero datacenters — useful when planning a future region before physical space is confirmed.
- The capacity bar and the Available total only become meaningful once you add racks with a defined height inside Datacenter Details.
- The Provider field is purely descriptive. It does not connect this datacenter to any external provider.
- Deactivating a datacenter is a record-keeping state. What actually decides whether customers can order into a region is the location, and the location chips on each product — see Locations.
Related articles
Locations · Datacenter Details · Rack Management · Inventory · IPAM