
Product Categories
Group products on the storefront, set a category type and provisioning model, and control colour, icon, feature tags, billing cycles and custom fields.
What categories are for
Categories group your products on the storefront and decide which provisioning model applies to the services inside them. Each category has a type that shapes how its products are presented and what happens when an order is placed, plus its own colour, icon, feature tags, welcome letter and billing-cycle setup that customers see on the order page.
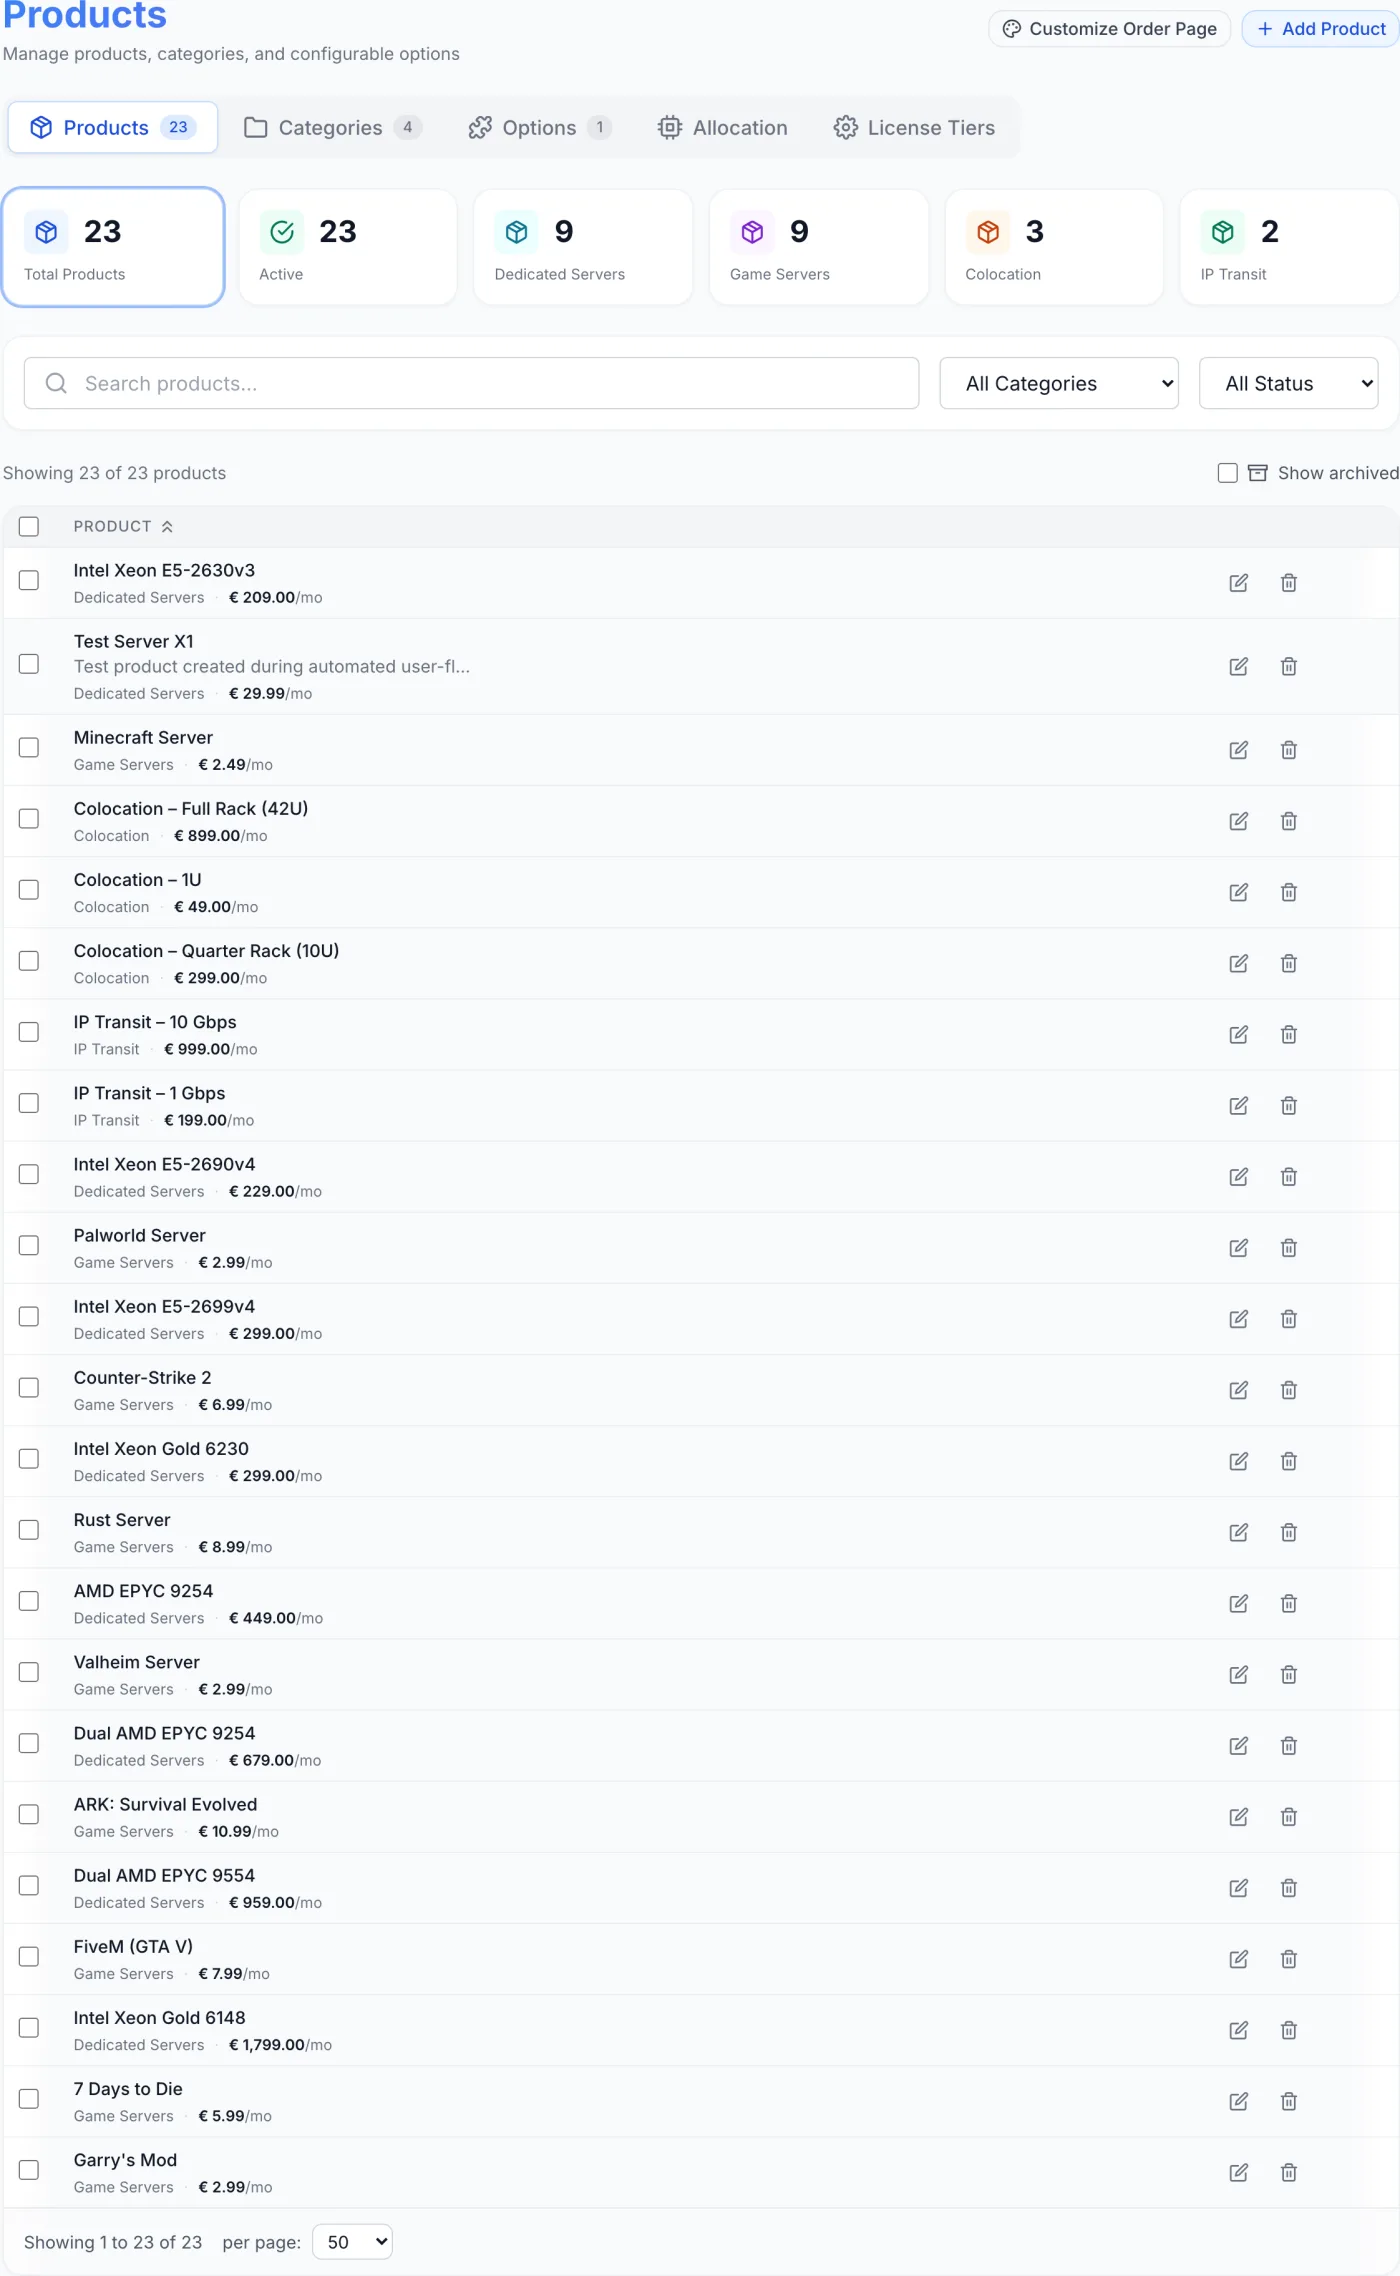
How to reach it
Open Products in the admin sidebar. The page opens on the Products tab; click the Categories tab at the top to see your category list. The other tabs on this page (Products, Options, and Allocation) cover related catalogue tools.
The Categories list
The Categories tab shows four summary tiles across the top, a filter bar, and a sortable table.
- Summary tiles — Total Categories, Active, Inactive, and Total Products.
- Filters — a search box (matches the category name) and a status dropdown (All Status / Active / Inactive).
- Show archived — a checkbox above the table that brings archived categories into view.
- Table columns — a selection checkbox, Order (display number), Categories (name plus URL slug), Type, Description, Products (count, with the active count noted when it differs), Status, Customer visibility, and Actions.
- Row actions — Edit (pencil), Archive or Unarchive, and Delete (trash). Delete stays disabled while the category still has products.
Click the Status badge on any non-archived row to toggle the category between Active and Inactive directly from the table. The Customer visibility column is blank for a normally listed category and shows a Hidden badge for one you have taken off the customer-facing storefront.
Tick the selection checkboxes to reveal a bulk Delete Selected bar. Up to 50 categories can be handled at once: every product in them is detached (it becomes uncategorised) and the categories themselves are retired — they leave the list and reappear under Show archived.
Category types
The Category Type is chosen as a card at the top of the category form. It governs which provisioning options are offered and how products in the category behave. Which cards you see depends on which modules are enabled for your company.
| Type | Use it for |
|---|---|
| Dedicated Servers | Physical or virtual dedicated servers. Products can be paired to a machine through the Allocation engine and your Inventory. |
| Colocation | Rack space, power, and connectivity, with automatic rack-unit reservation. |
| IP Transit | Internet connectivity and bandwidth products with port allocation. |
| VPS | Virtual servers built on your own VPS clusters by the built-in VPS module. Each product owns its own plan. |
| Game Servers | Game-server containers built on your own game nodes by the built-in game module. Each product owns its own plan, which is pinned to an entry in the game catalogue. |
| Plugin / Other | Any plugin-provisioned service. The matching plugin handles the service lifecycle. |
Note: Changing the type on the card resets the category's Provisioning selection back to None (Manual), because the two lists do not overlap.
Adding a category
Click Add Category (top right of the Categories tab). The form is organised into sections:
- Category Type — pick one of the type cards.
- Basic Details — Name (required), URL Slug (auto-generated from the name while creating, editable), Description (shown to customers), Display Order (leave blank for Auto), Visibility (Active or Hidden) and Customer visibility.
- Order Page Display — Color Scheme, an Icon picker, and Feature Tags shown on the order page.
- Provisioning — the default delivery method for products created in this category (see below).
- Welcome Letter Template — the email template sent when a service in this category is activated.
- Billing Cycles — turn billing periods on or off and set per-cycle discounts.
Click Create Category to save; the button is disabled until the name is filled in. When you later reopen the form on an existing category, the button reads Save Changes and an extra Custom Fields section appears at the bottom.
Visibility and Customer visibility
These two controls do different jobs and are deliberately separate.
- Visibility — Active or Hidden. Hidden switches the category off everywhere.
- Customer visibility — Listed publicly or Hidden from customers. Hidden from customers keeps the category alive for you: it is invisible in the customer panel and on the website, but you can still price it, edit it and place orders on it from the admin panel. This is what lets you build a replacement catalogue in front of a live one. The control is only meaningful while the category is Active, and it is disabled otherwise, since an inactive category is hidden either way.
Order Page Display
- Color Scheme
- Choose Blue, Purple, Green, or Orange. Click the selected colour again to clear it.
- Icon
- Pick from a scrolling grid of 32 icons (servers, network, security, gaming, and general shapes). Click the chosen icon again to clear it; the icon's name is shown beside the label.
- Feature Tags
- Type a short tag (for example High Performance) and press Enter or click Add. Tags appear as removable chips and are displayed on the order page.
Provisioning
This dropdown sets the delivery method that new products in this category start on. Each product can change it in its own Configuration section, so treat this as the default rather than the final word. The list adapts to the category type:
- None (Manual) — staff activate services by hand. Available for every type.
- Dedicated (Automated) — for Dedicated Servers categories, pairs orders to hardware automatically.
- Colocation (Auto RU Reservation) — for Colocation categories.
- IP Transit (Port Allocation) — for IP Transit categories.
- VPS (Native KVM Clusters) — for VPS categories.
- A plugin — for Plugin / Other and Dedicated Servers categories, every enabled infrastructure plugin appears here (with its service type in brackets) so it can own the service lifecycle for products in this category.
Tip: For a Game Servers category, leave this on None (Manual). The built-in game module is picked on the product itself, in its Configuration section.
Welcome Letter Template
Leave this on Default (Service Activated) to use the standard activation email, or pick one of your service or custom email templates. This template is used when the welcome letter for a service in this category is sent.
Note: Only templates classified as service or custom appear in the dropdown. Create or edit templates from Email Templates if the one you want is missing.
Billing Cycles
The section header has a toggle that enables or disables billing-cycle selection for the whole category. When billing is off, the section is replaced by a note saying customers will not choose a billing period.
With billing enabled, click each cycle chip to turn it on or off. Monthly is always enabled and cannot be switched off (it is marked (always)). Quarterly, Semi-Annual, and Annual can be toggled freely; Hourly appears only when hourly billing is enabled in your platform settings — see Hourly Billing before you offer it.
As soon as one non-monthly cycle is enabled, a Discount per cycle row appears with a percentage box (0–99) for each of them, together with:
- Show discount badge on order page — displays the saving as a badge to customers.
- Starting price shown on order page — only when Hourly is enabled; choose whether the headline price is shown as the hourly or the monthly rate.
Custom Fields (existing categories only)
After a category is saved, edit it again to find the Custom Fields manager. Click Add Custom Field and set:
| Setting | What it does |
|---|---|
| Field Label | The label shown next to the field (required). |
| Type | Text Input or Dropdown. Dropdown fields need at least one option (each option has a label and a value). |
| Visibility | Admin + Client (shown in both panels) or Admin Only. |
| Required | Whether the field must be filled in. |
Existing fields can be edited or deleted from the same list.
Reordering categories
Click Reorder (top right of the Categories tab) to open the Reorder Categories dialog. Each category is listed with its product count and up and down arrow buttons — use them to move a category higher or lower, then click Save Order. The storefront grid follows this order.
Archiving and deleting
- Archive hides the category (and its products) from the storefront while existing services keep running and renewing. A category whose products still have pending or active services cannot be archived; a Cannot Archive dialog lists the services that must be cancelled or terminated first. Archived categories show an Archived badge and an Unarchive action; tick Show archived to see them.
- Delete retires the category: it is deactivated and moved out of the list, where Show archived will bring it back into view. The button stays disabled until the category has no products, so move or remove its products first.
Tip: The slug becomes part of the storefront URL — keep it short and stable after launch, since changing it later breaks existing links and bookmarks.
Related
Products · Product Options · VPS Plans · Game Plans · Allocation & Equivalences · Inventory · Email Templates · Plugins