
Custom domains for your panels
Put your hosted FluxBilling client and admin panels on your own domain: add it in the account portal, create a CNAME record, and apply it.
A hosted FluxBilling licence comes with a ready-made web address for your client and admin panels. This guide shows how to put both panels on your own domain instead, for example billing.example.com, so your customers never see a FluxBilling address. You add the domain in the FluxBilling account portal, create one DNS record per domain at your DNS host, and apply it. The HTTPS certificate is issued for you.
This guide is for hosted licences, where FluxBilling runs your panel for you. If you run FluxBilling on your own server (a self-hosted licence), you set your addresses under Deployment URLs on the licence page instead and point DNS at your own server; that is covered in Your FluxBilling licence.
Before you start
- A domain you control, and access to the DNS settings where that domain is hosted (your registrar, Cloudflare, or another DNS provider).
- A running instance. Applying or removing a domain only works while your instance is running and has finished its initial setup.
- The right access in the account portal. If you sign in as a team member of the account, you need the Manage Services permission to save, apply or remove a domain; View Services is enough to see the card. A suspended account can see the card but cannot change it.
Where to find it
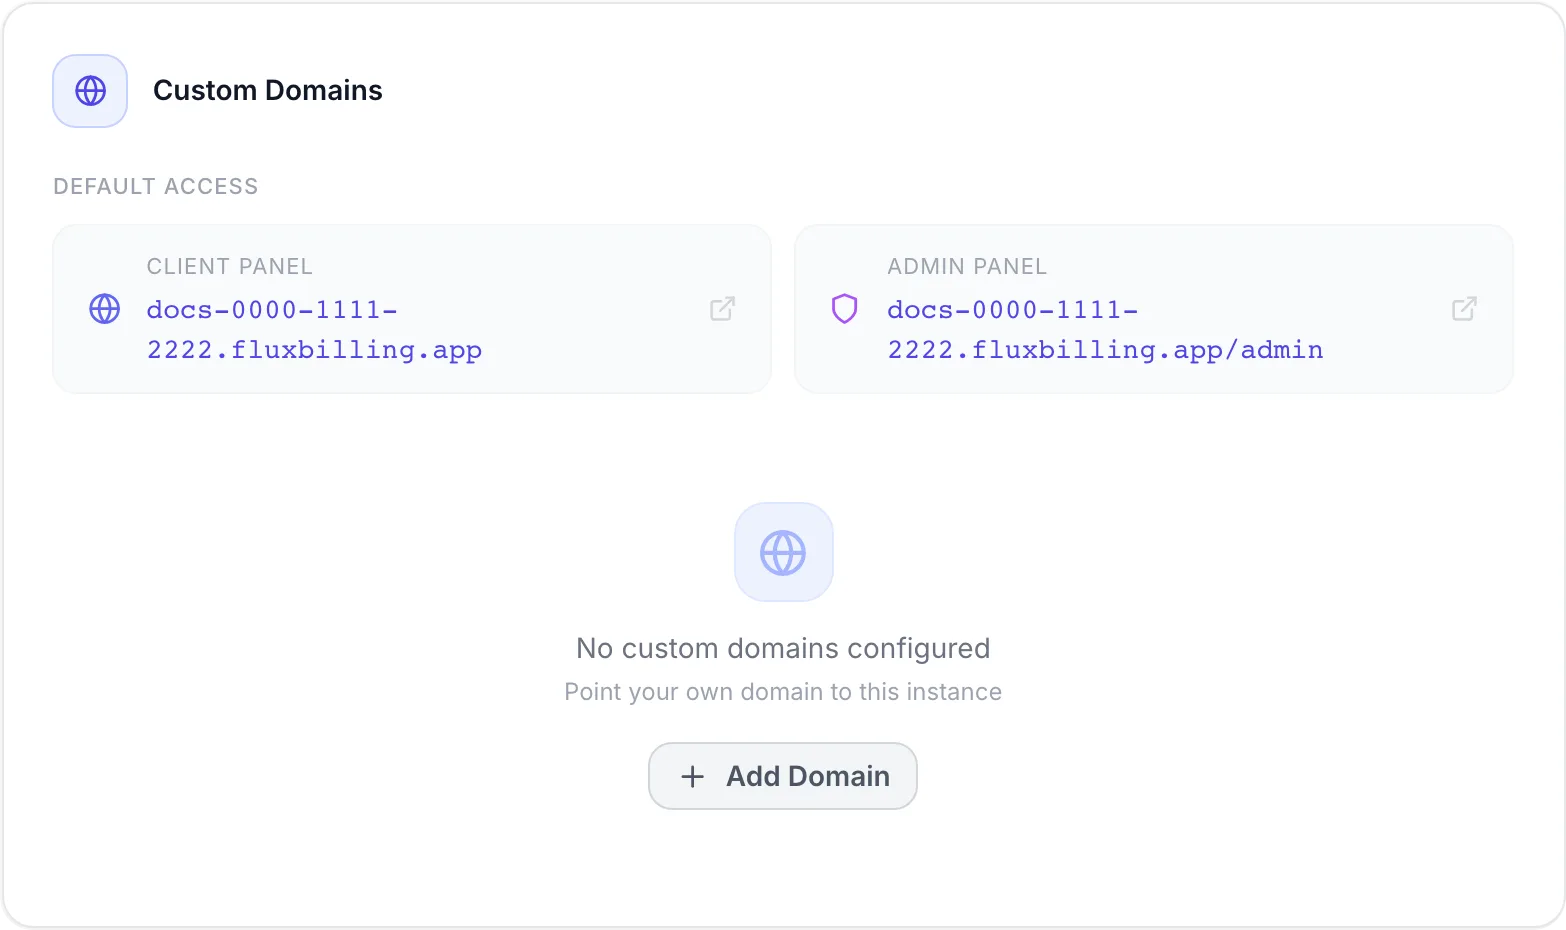
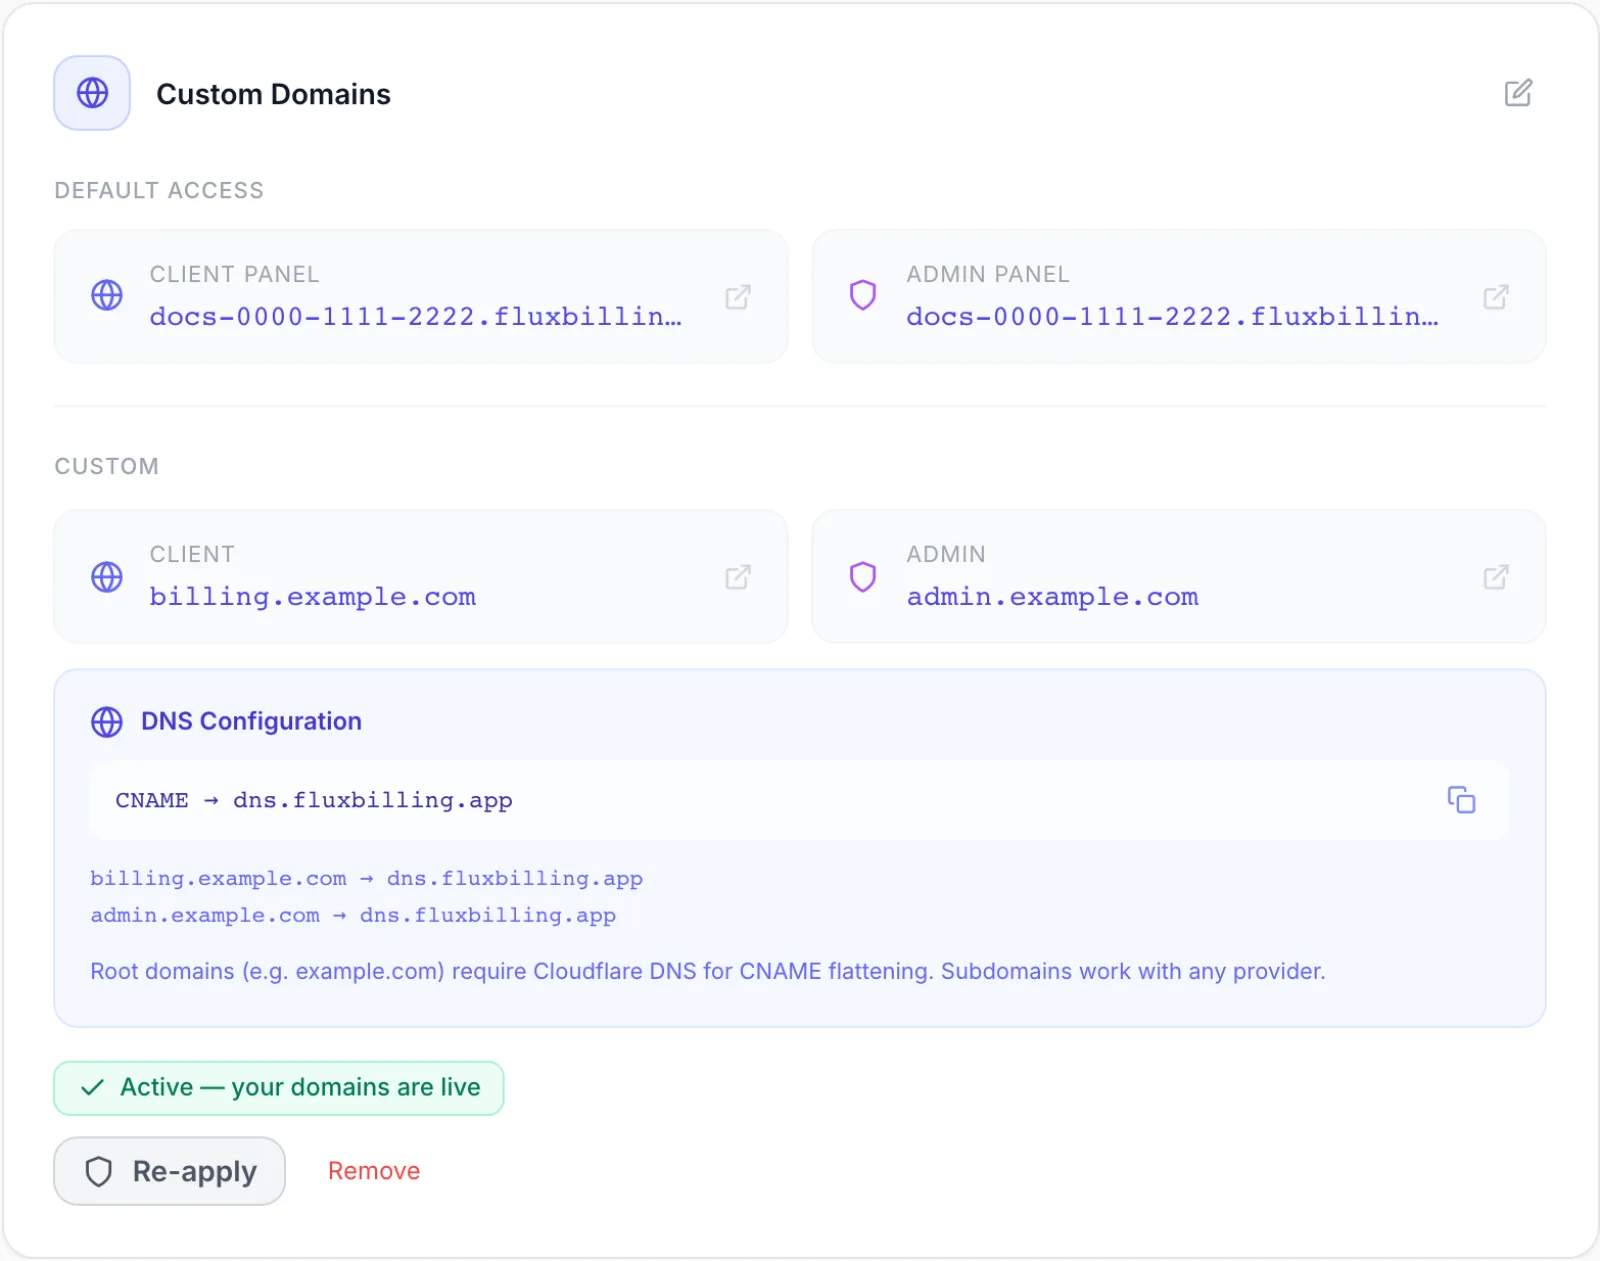
Sign in to your FluxBilling account portal, open My Services and click your licence. The Custom Domains card is the last card on the licence page, at the bottom.
Your default address
Every hosted instance has a default address, shown under Default Access:
- Client Panel:
<your licence key>.fluxbilling.app - Admin Panel: the same address followed by
/admin
The default address keeps working after you add a custom domain, and the card keeps showing it. It is useful as a fallback if your own DNS ever breaks.
Keep the default address private. It contains your licence key. Give your customers your custom domain, and do not publish the default address in emails, websites or support replies.
Choose a layout: Single or Separate
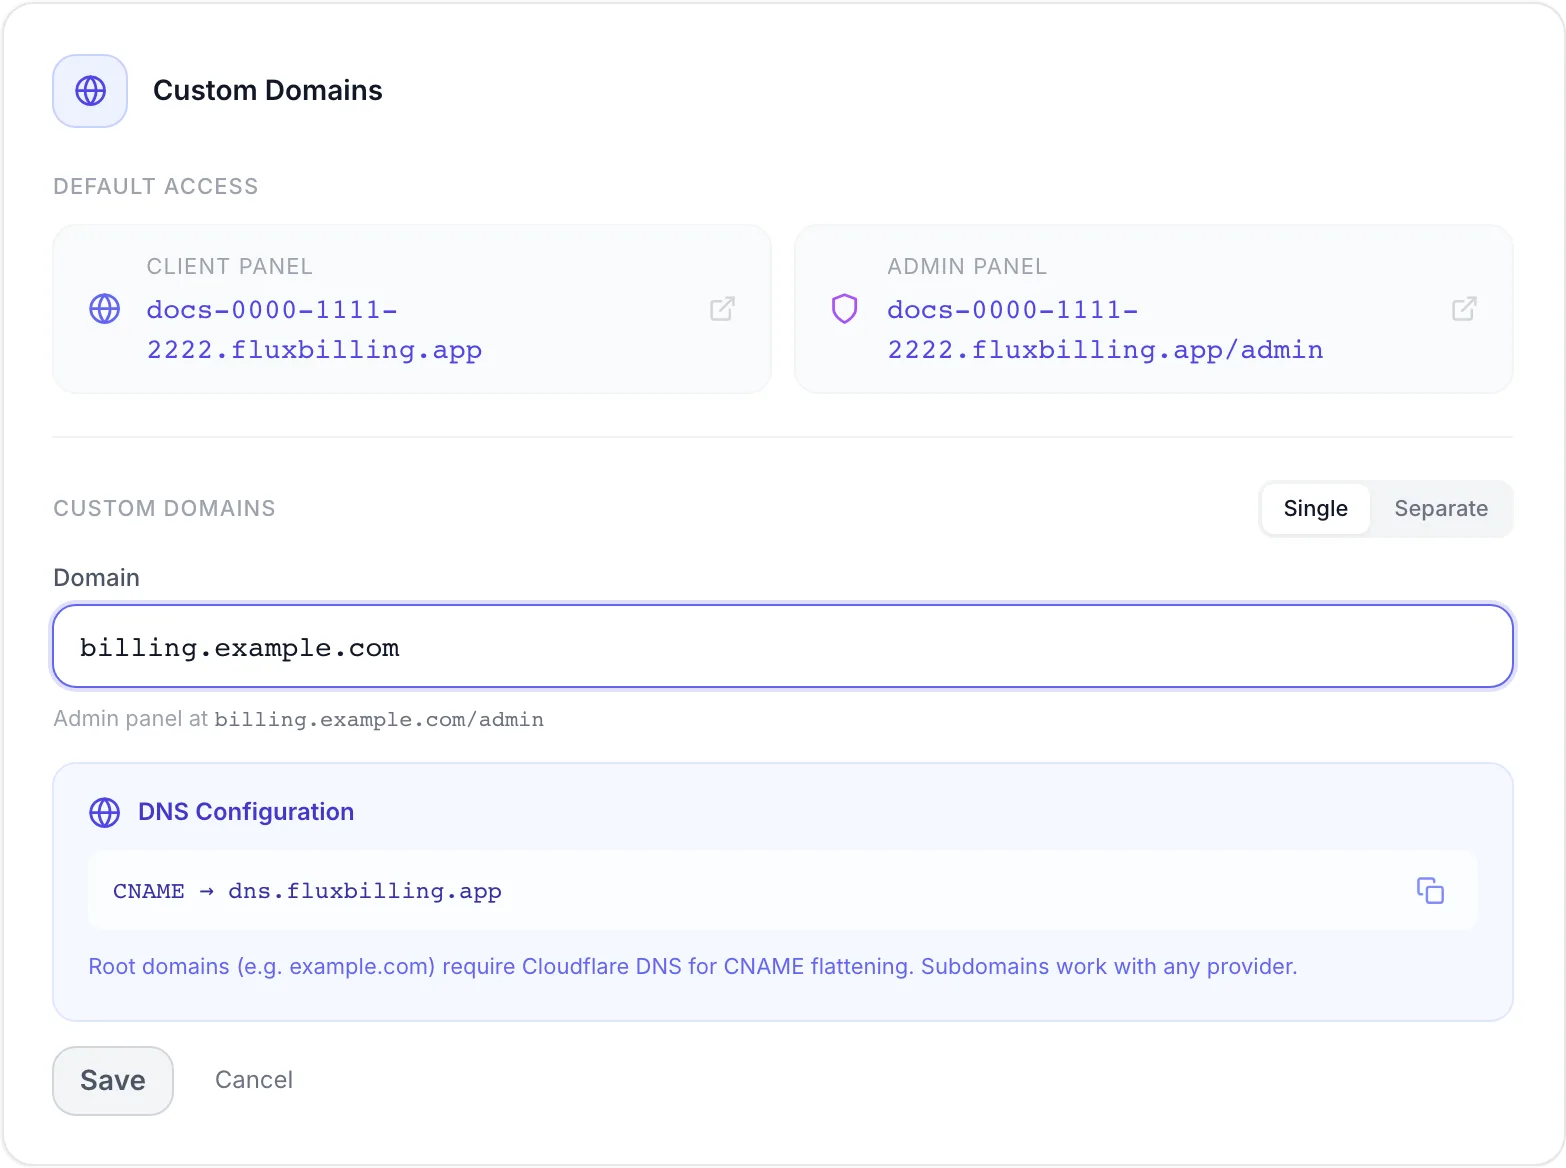
Click Add Domain. A switch at the top right of the form offers two layouts.
| Layout | Fields | Client panel | Admin panel |
|---|---|---|---|
| Single | Domain | https://billing.example.com | https://billing.example.com/admin |
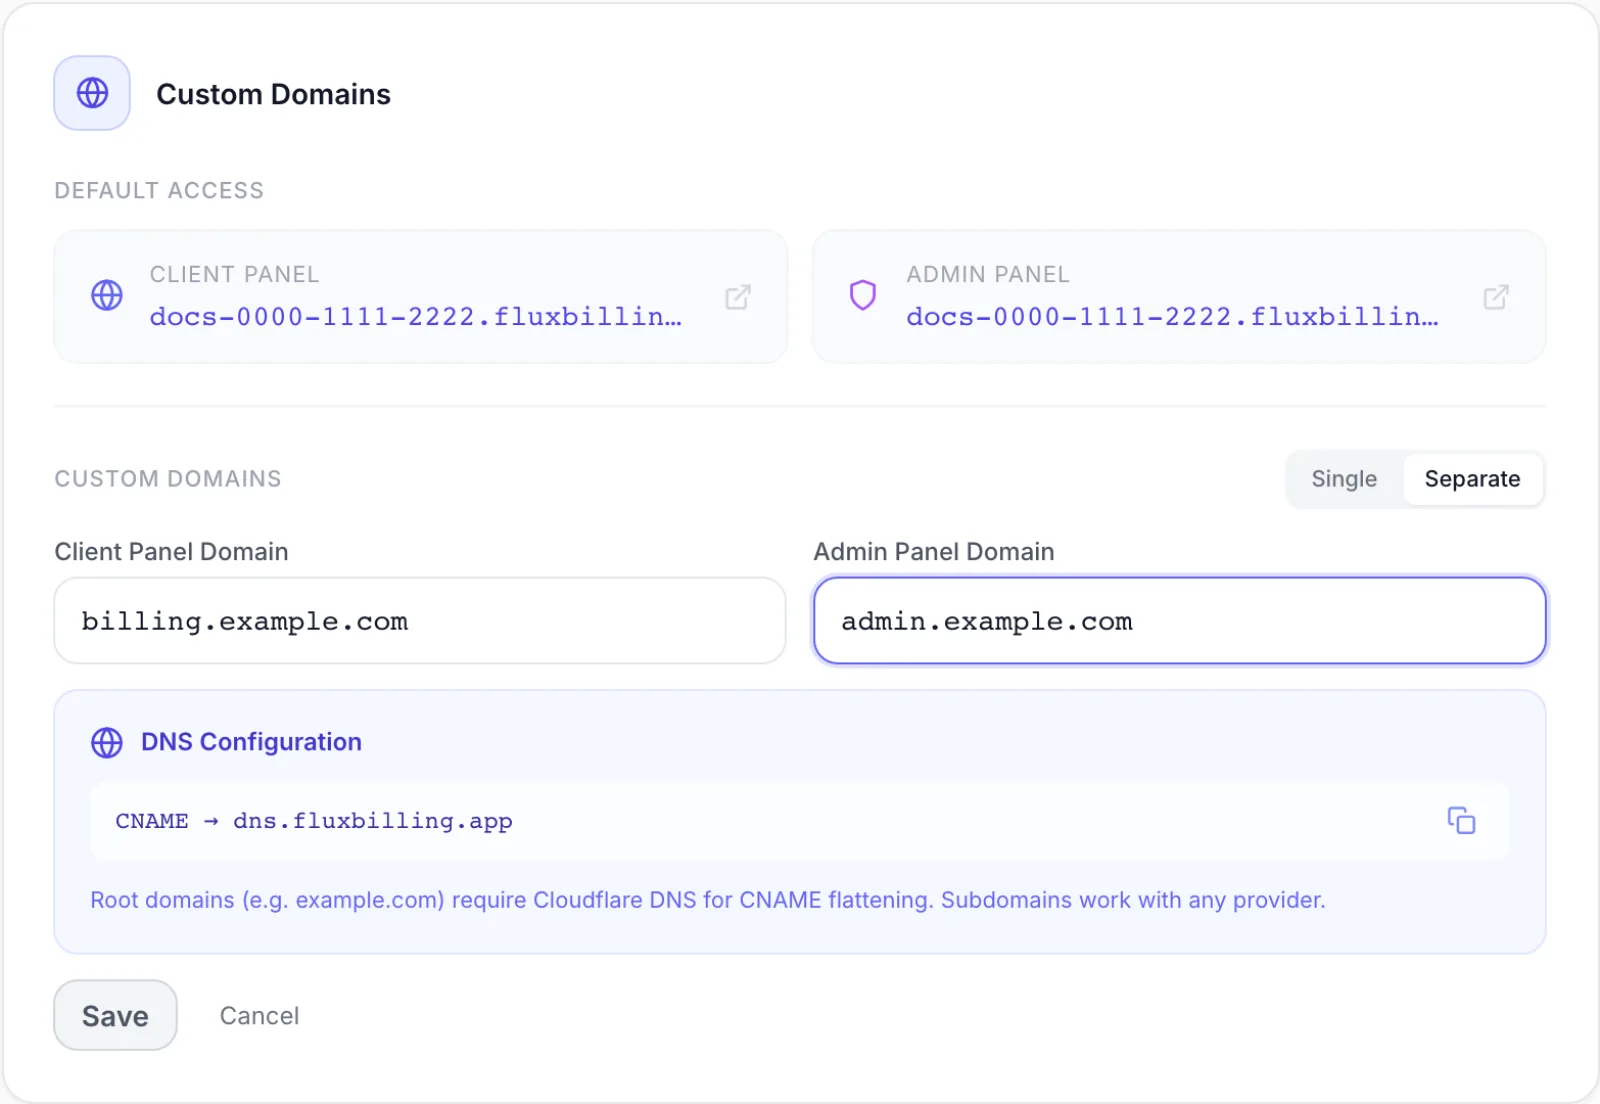
| Separate | Client Panel Domain and Admin Panel Domain | https://billing.example.com | https://admin.example.com (at the root of the domain, no /admin) |
Single is selected when you open the form. As you type, the line under the field shows where the admin panel will be, for example Admin panel at billing.example.com/admin.
Separate gives the admin panel a domain of its own. You always need a client panel domain: an admin domain on its own cannot be applied. If you enter the same domain in both fields, it works like Single and the admin panel stays at /admin.
What to type
- The bare host name only, for example
billing.example.com. Nohttps://, no path, no port, no trailing dot. - Letters, digits and hyphens in each part of the name, and an ending (top-level domain) of at least two letters.
- No wildcards such as
*.example.com. - Type the domain in lowercase.
- Each panel has one custom domain, so you can have at most two (one for each panel). A domain that another FluxBilling instance already uses cannot be added.
Create the DNS record
The DNS Configuration box in the form shows the one record you need: CNAME → dns.fluxbilling.app. The copy button next to it copies the target and confirms with CNAME target copied.
At your DNS host, create one CNAME record for each domain you entered:
| Type | Name (host) | Target (points to) | Needed for |
|---|---|---|---|
| CNAME | billing | dns.fluxbilling.app | Single and Separate |
| CNAME | admin | dns.fluxbilling.app | Separate only |
- Name. Most DNS hosts want only the part in front of your domain (
billing); some want the full name (billing.example.com). Follow your provider's form. - Use CNAME, not A or AAAA. Do not create A or AAAA records for the domain, and remove any old ones for the same name: a name cannot carry a CNAME and other records at the same time.
- TTL. Any value works. A short TTL, such as 5 minutes, makes later changes take effect sooner.
- Cloudflare users. If your domain's DNS is on Cloudflare, we recommend setting the record's proxy status to DNS only (grey cloud).
Subdomain or root domain
A subdomain such as billing.example.com works with any DNS provider. The card says so too: Root domains (e.g. example.com) require Cloudflare DNS for CNAME flattening. Subdomains work with any provider.
The DNS standard does not allow a CNAME on a root domain (example.com itself), because the root already carries other records. Cloudflare DNS works around this with CNAME flattening: you create the CNAME on the root (name @) and Cloudflare answers with the right addresses. If your DNS is not on Cloudflare, use a subdomain.
Save the domain
- Enter your domain or domains and click Save. The message Domains saved confirms it. Cancel closes the form without changes.
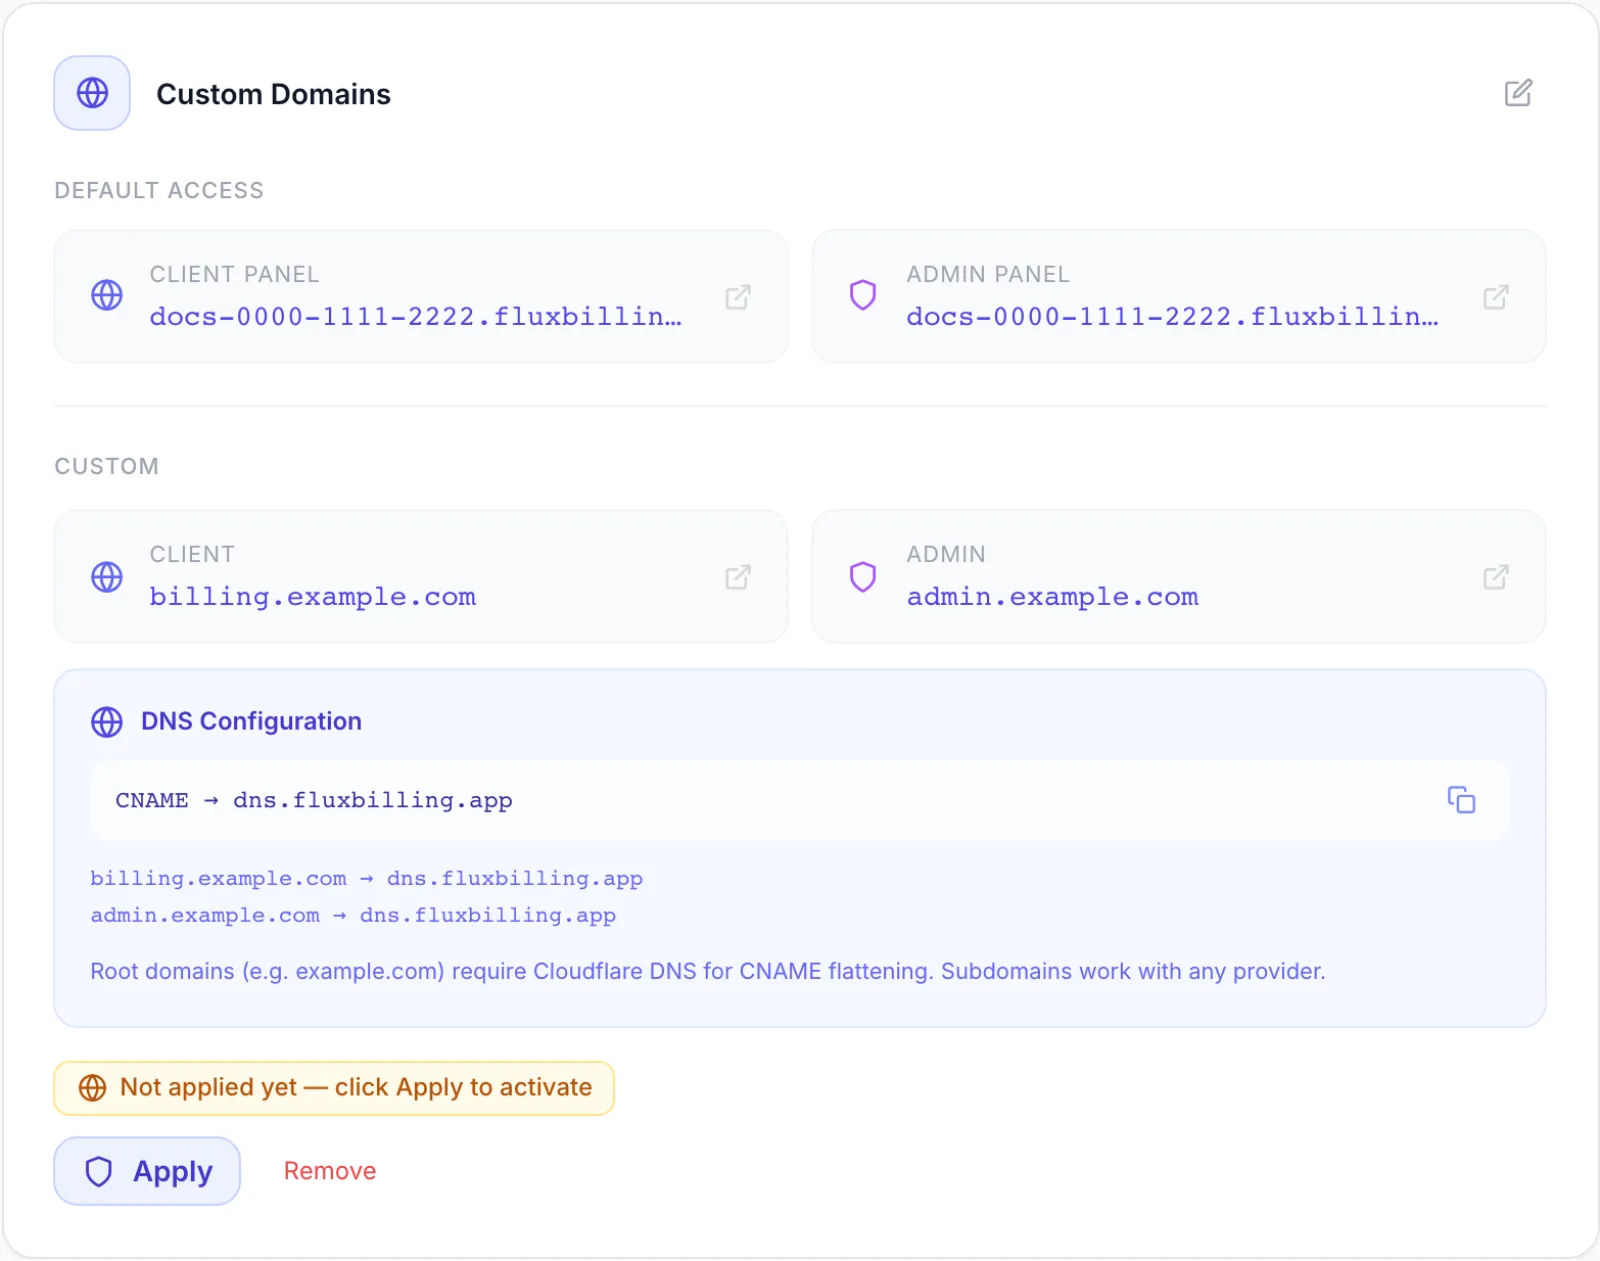
- The card now lists your domains under Custom: Client and Admin, with a summary line for each record, such as
billing.example.com → dns.fluxbilling.app. - The status badge reads Not applied yet — click Apply to activate.
Saving also requests the HTTPS certificate for each domain. You never upload a certificate yourself.
Apply the domain
A saved domain goes live when it is applied. This happens in one of two ways:
- Automatically. If your CNAME record is already in place and verified when you click Save, the domain is applied straight away. Otherwise FluxBilling checks again every 10 minutes and applies it as soon as verification completes. Reload the page to see the new status.
- By hand. Click Apply once your DNS record is in place. The confirmation reads: Apply domain configuration? This will verify your CNAME and update container routing. The service will restart briefly. Confirm to continue.
When the domain is applied:
- Your panels answer on the custom domain (or domains) with HTTPS.
- The links your panels create, such as links in emails and sign-in redirects, use the custom domain.
- Your instance restarts, so both panels are unavailable for a short moment. The message Domains applied successfully! appears when the restart starts, not when it ends: allow about a minute before you test the new address.
- The badge changes to Active — your domains are live and the button becomes Re-apply.
Wait for Active before you send customers or staff to the new address. Until then, use the default address.
How long it takes
| Step | How long |
|---|---|
| Your DNS host publishes the new CNAME record | Depends on your provider; usually minutes |
| The domain is verified and its certificate issued | Usually a few minutes after the record is visible |
| Automatic apply (if you do not click Apply) | Within 10 minutes of verification |
| Instance restart after applying | About a minute |
There is no deadline. If verification is slow, the domain simply waits in Not applied yet and is applied once it passes.
Change or remove a domain
To change a domain, click the pencil icon at the top right of the card. The form opens with your current domains and layout. Edit them, click Save, update your DNS records to match, and apply again. A changed domain goes back to Not applied yet until it is applied.
To remove your custom domains, click Remove and confirm: Remove custom domains? Your service will revert to default hostname access. Both domains are removed, your panels go back to the default address and your instance restarts briefly. The message Domains removed appears when the restart starts: allow about a minute before you use the default address. Delete the CNAME records at your DNS host afterwards; FluxBilling does not change your DNS.
Re-apply runs the apply step again for the domains you already applied, including the brief restart.
Troubleshooting
Errors appear as a short message on the page. The domain names below are examples.
| Message | What it means and what to do |
|---|---|
| Your domain "billing.example.com" isn't verified yet (status: pending). At your DNS provider, add a CNAME record for "billing.example.com" pointing to "dns.fluxbilling.app", then wait a few minutes for it to activate and click "Apply" again. | The CNAME for your client panel domain is missing, wrong, or not visible yet. Check the record's name and target, remove conflicting A/AAAA records, then wait a few minutes and click Apply again. You can also wait: the domain is applied automatically once verified. |
| Your admin domain "admin.example.com" isn't verified yet (status: pending). At your DNS provider, add a CNAME record for "admin.example.com" pointing to "dns.fluxbilling.app", then wait a few minutes and click "Apply" again. | Same, for the separate admin domain. With the Separate layout, both domains must be verified before anything is applied. |
| Please enter a domain for your client panel first, save it, then click "Apply". | Only an admin domain is saved. Open the form, add a client panel domain, save, then apply. |
| Your instance isn't fully set up yet. Please wait for provisioning to finish, then try again. | Your instance is still being set up. Try again once setup has finished. |
| Your instance must be running to apply a domain. Start it first, then click "Apply". | Your instance is not running. Contact FluxBilling support, then apply again once it is back up. |
| Your instance must be running to remove a domain. Start it first, then try again. | Same, when removing a domain. |
| Domain billing.example.com is already in use | Another FluxBilling instance already uses this domain. Choose another domain, or contact support if it is yours. |
| We couldn't reach your instance to finish setting up the domain — its network service didn't respond after 5 tries. Please wait a minute and click "Apply" again. If it keeps failing, contact support and mention instance "…". | A temporary problem on our side. Wait a minute and apply again. If it repeats, contact support with the instance name from the message. |
| We hit an internal network configuration issue while applying your domain, so no changes were made. Please try again shortly — if it persists, contact support. | Nothing was changed. Try again later; contact support if it persists. |
| Insufficient permissions | Your team access in the account portal lacks the Manage Services permission. Ask the account owner. |
| Your account is suspended. You can only view your account information. | Domains cannot be changed while the account is suspended. Settle the account first. |
| Apply failed or Failed to remove domains | The request did not go through. Try again; contact support if it repeats. |
The domain is Active but the page does not load
- Give the restart a minute after applying, then reload.
- Check that the CNAME record still exists and still points to
dns.fluxbilling.app. Removing or changing it at your DNS host takes the custom domain offline; the default address keeps working. - If your browser cached an old DNS answer, try a private window or another network.
Related
- Your FluxBilling licence: the rest of the licence page, including self-hosted deployment addresses.